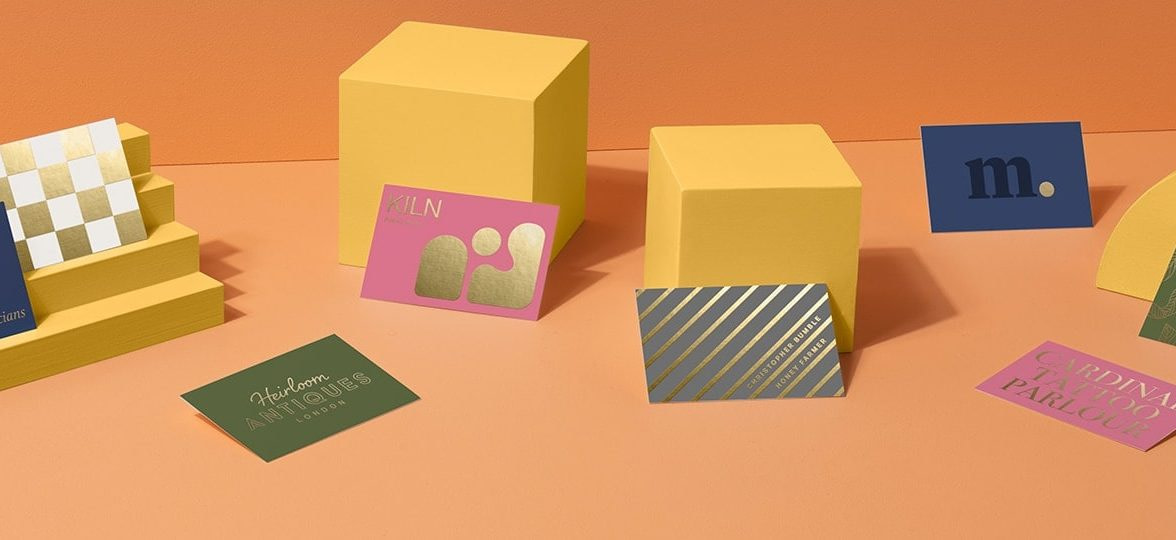
How to set up your design files for foil
Adding shine is now even easier with our checklist for fool-proof foil.

Memorable. Eye-catching. Distinctive. Whether you just want to show off (silver foil for a jeweller? Yes please) or impress that potential new client – a shining foil Business Card is guaranteed to make your business the centre of attention.
Simple or a bit more fancy, your design dazzles with the gilded finish of Gold Foil or the sleek and shiny finish of Silver Foil. What’s even better is you can add it to any part of your design – like text, logos, and shapes – for maximum impact (even if your designs are subtle).
We’ve made a checklist for fool-proof foil so getting instant shine is easy.

Step 1: Treat the foil as its own colour
Foil will print on top of the rest of your design, covering anything underneath. So make your foil design a different shape to anything below it or it can look like a messy halo effect.

Step 2: Create your elements
Keep all your text at 10pt or higher to make sure it’s nice and legible. Sharp lines need to be at 1pt or thicker, too.
Step 3: Make two files
Create one file for your artwork and one for your elements. The artwork file will be the main design to be printed (anything that’s not foil) and the element file will be where you want the gold foil to go.
Step 4: Check your files
Nearly there! To finish, make your artwork a vector PDF, save photographs at 300dpi or higher and check your file size is a maximum of 25Mb.
And you’re done! Just upload your files and wait for the MOO magic to arrive. You can add foil to more than just Business Cards, too. Think glistening custom, printed Gift Tags, sparkling Postcards and more. Or take a look at all MOO’s super special finishes like Foil, Spot Gloss, Raised Spot Gloss and Luxe for more Business Cards with a bit of drama.
Keep in touch
Get design inspiration, business tips and special offers straight to your inbox with our MOOsletter, out every two weeks.


